Google Chrome has long been considered one of the most popular browsers worldwide. However, with the gradual increase in the number of website blocks, more and more active users are thinking about the possibility of using proxy servers.
Proxy in Chrome is a useful intermediate server through which all internet traffic will pass. In this guide, you can learn more about the features of setting up proxy in Google Chrome, considering all the nuances.
What are Proxy Settings in Chrome Needed For
Proxy settings in Chrome can be useful in various situations. Among the most important reasons, consider the following:
- Hiding IP address, guaranteeing personal privacy. Proxy not only helps hide the real IP address, but also replaces it with another one, which is important for anonymous surfing, protection from possible surveillance, hiding your geolocation.
- Getting access to blocked sites. Proxy on Chrome helps masterfully bypass various geo-blocks, censorship.
- Filtering, controlling used content. For example, blocking unwanted sites (like “parental control”), setting up access rules to specific sites.
- Testing, development. Proxy is actively used in their work by developers, SEO specialists to check site operation in other countries/regions, to test new content/advertising, for automation (parsing, bots).
- Using multiple accounts. Some services limit the number of accounts from one IP address, and proxy allows working simultaneously with multiple accounts.
In some cases, such settings help speed up loading by caching popular sites (accelerated re-access occurs).
How to Change Chrome Proxy Settings: Step-By-Step Instructions
If you need to change proxy settings in Chrome, you need to consider all possible methods to choose the most suitable solution. There are several current methods, among which system settings and Chrome extension are highlighted. Choosing the option through system settings, you should consider the specific OS of laptop/PC or tablet.
Instructions for Windows:
- Need to open Chrome and go to menu.
- In the upper right corner, click on three dots, choosing “Settings”.
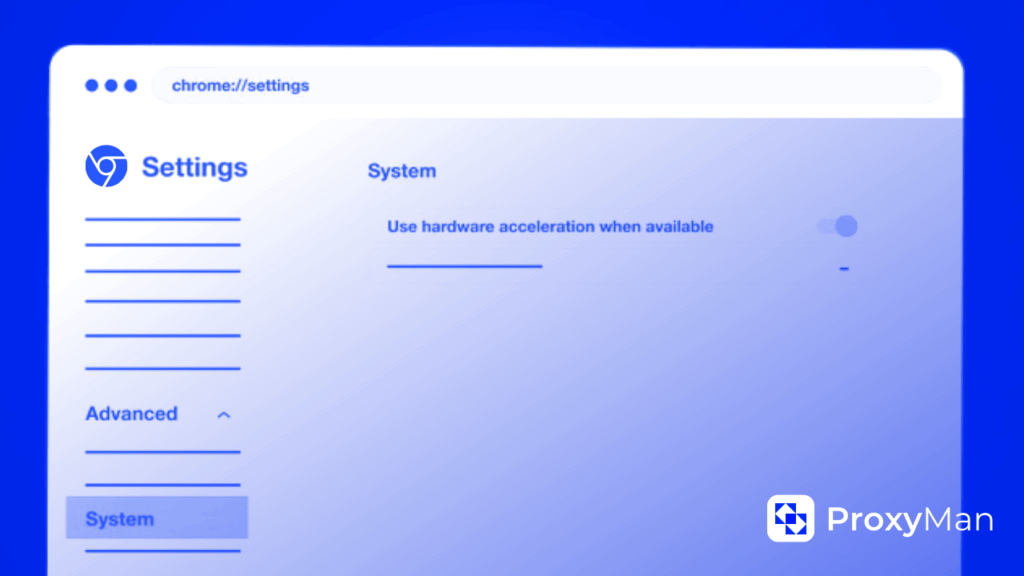
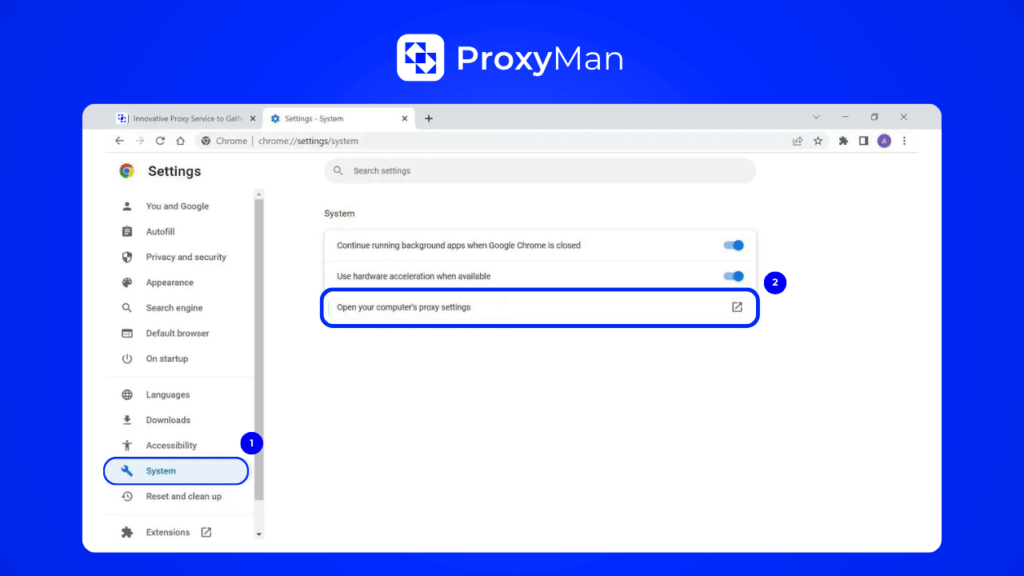
- Scroll down to select “System”.
- Open the section “Open your operating system’s proxy settings”.
- Open the “Proxy Settings” window.
- Enable “Use proxy server” – enter specific IP address and port.
- Click “Save”.
For all settings to be saved and start “working”, it’s enough to restart Chrome.
Instructions for macOS:
- Launch “Chrome”.
- Select “Settings” and go to “System”.
- Launch “Open proxy settings”.
- Go to “System Preferences”.
- Click “Network” and select active interface (for example, Wi-Fi).
- Click “Advanced” and click “Proxy”.
- Decide on suitable proxy type.
- Enter address, port.
- Save changes.
Another equally common way to change chrome proxy settings is to use an extension in Chrome. This option is used by everyone who doesn’t want to change system settings. In this case, you need to install an extension from Chrome Web Store, familiarizing yourself with the most popular offers.
For installation, you should go to Chrome Web Store, select a suitable extension and install it. After installation is complete, you need to open settings and enter:
- IP address;
- port;
- sometimes login and password may be required.
After completing all the above actions, it’s enough to activate the necessary proxy profile.
Some advanced users also use a third method – launching Chrome with proxy parameters. For this, they use settings through command line.
Where Can You Buy Working Proxy on Chrome?
If you need to purchase really reliable and proven working proxy for Chrome, it’s enough to use the help of the Proxy-Man platform. As a result, you can remain unnoticed, working from any country on the world map.
For purchase, it’s enough to perform several simple steps:
- Complete a quick registration process on Proxy-Man.
- Go to your control panel and top up your account – through the “Balance Top-up” section.
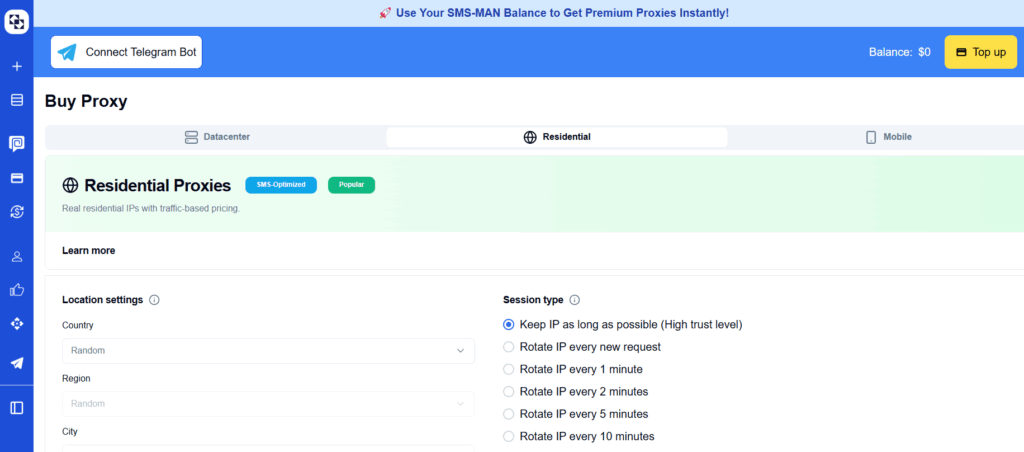
- Go to the “New Proxy” page to decide on suitable proxy type.
- Select country, decide on region, city, suitable internet provider.
- Select session type from suggested options.
- Select preferred protocol, and also specify proxy traffic limit.
- Check correctness of all settings and selected parameters.
- Click “Buy Now”.
For further automation, it’s enough to copy the generated proxy server credentials and paste them into Chrome browser. Using simple instructions considering the sequence of actions, you can quickly perform the purchase procedure and start using Chrome for its intended purpose.
FAQ
Q: Why use proxy server for Chrome?
A: Among the main reasons should be noted the need to hide IP address, successful bypass of blocks, accelerated loading of individual sites, traffic filtering, as well as access to content that is limited by geolocation.
Q: What methods exist for setting up proxy in Chrome?
A: The list of most common methods can include using system settings, Chrome extensions, as well as launching through command line.
Q: What are the main advantages of using proxy servers?
A: With proxy servers today, you can change your IP address, manage multiple accounts simultaneously while maintaining privacy on the network. Each user pursues a specific list of relevant reasons.